
Sometimes there are such situations when you have to work with utilities (accounting, social, which require the presence of an external carrier in the computer). Or you just need to install a new version of the operating system. But what to do if there are no flash drives or any free CDs. There is an exit! Need special program which will work as a virtual flash drive.
OSFmount is a small program that will help you create a drive. This application can create both a ready image (image) of a drive and RAM, which exists only in RAM. Floppy disk, artificial optical disk, and, most importantly, a virtual flash drive - the program can mount all these images. Windows 10, Windows 8, Windows 7 virtual flash drive will be created on any operating system Windows, both in a 64-bit environment and in a 32-bit one. In mount, you can even define a specific letter for an artificial disk and set the necessary attributes. At the same time, the size of the utility does not even reach 2 megabytes, its size is only 1.95 MB. Of the minuses only that the program does not support the Russian language.
Instructions for using OSFmount
It is easy to use and does not take much time and effort to create a flash drive. So, how to create a virtual USB flash drive on a computer using OSFmount:

Also in the work you may need some options that open after clicking on the “Drive Actions”. This option has the following:
- Dismount - to unmount;
- Format- with this option you can make formatting;
- Savetoimagefile - to save in the required format;
- Open - to open;
- Set media read-only - disables recording;
- Extendsize - used for expansion;
- Set media writable - allows writing.
This is so very easy to do. usb flash on the computer. Images for virtual flash, you can choose any. But in the case of a bootable image, the drive will have to be formatted and it will only open in this application.
Installation and creation of a virtual flash drive can occur through various programs. In this article we will look at the most convenient, in my opinion, way of storing files - cloud storage .
Yandex.Disk, Google Drive and Mail.ru Cloud - all this is data storage. They are the same in functionality and use. This is a kind of folder that is under your password and which you can use from any computer. All of these servers provide enough free memory to store various types of files.
Consider the creation of such a cloud on the example of Google Drive
1. The first thing you need to do is start it up. mailbox in google
2. After creating the box, you go to “Google” and choose “ Google apps ". This icon is located in the upper right corner.
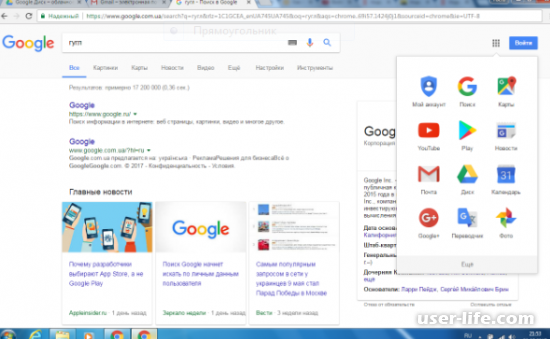
3. Choose the tab with the name “Disk” and navigate through it ...
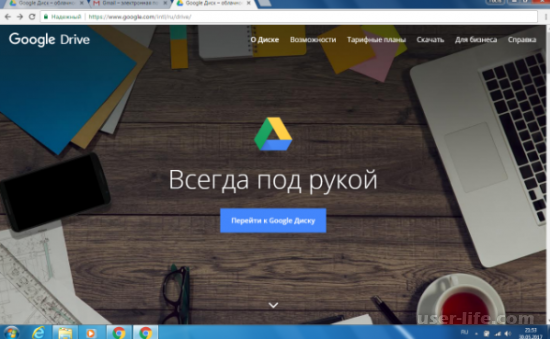
4. With the help of the previously created mail, login and log in. And your disk (virtual flash drive) is ready to use.
The purpose of the development is to make VirtualBox work without installation and run from anywhere, for example from USB media. Interestingly, the utility is completely written in AutoIt scripts (all sources openly lie, but because of this, however, it does not look very elegant. But the main thing is the result. So, download the application (I have this Portable-VirtualBox_v4.1.6- Starter_v6.4.8-Win_all.exe) and run it - the program will offer to choose a path for unpacking. After this, you can run Portable-VirtualBox.exe. All settings are set automatically, you need to fix something manually (for example, paths). The appeared window - This is the so-called launcher. It appears once and is intended for downloading the latest about the VirtualBox distribution and extracting the necessary files from there.It is interesting that at this stage the files can also be packaged in a special way so that they take up less space on the USB flash drive (although this is hardly relevant with the current size of flash drives). Click the Download installation button. files of VirtualBox ”, choose the system capacity (for example,“ Extract the files for 32-Bit system ”) and wait for the launcher to do its job. In order for the installer to adapt the paths to the system (corrected the necessary parameters in the VirtualBox.xml config), the Portable-VirtualBox.exe binary must be run again. Voila - we have a full-fledged VirtualBox at our disposal. Without any installation in the system.
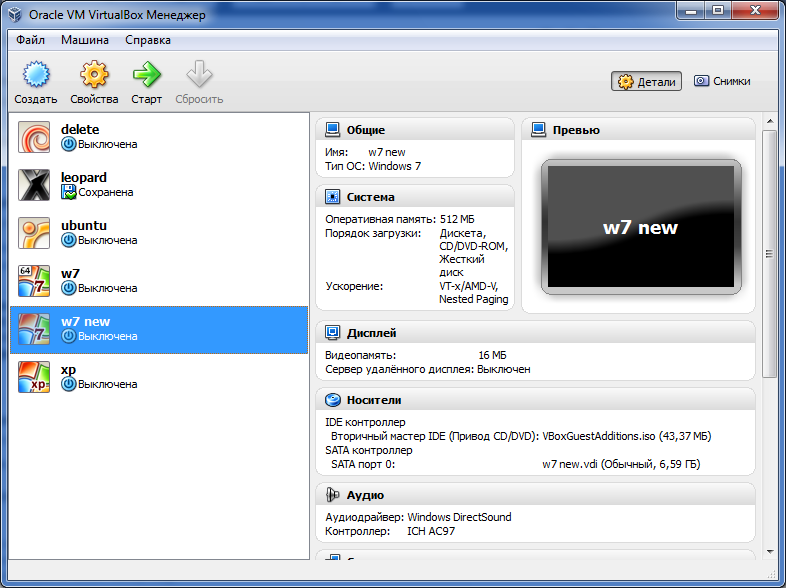
The VirtualBox icon will appear in the tray, with which you can control the virtual machine and further configure it. In guest OSs, both USB and the network work by default. But in order to release the guest OS to the external network (Internet), it will be necessary to carry out some additional manipulations. In the tray, select “Settings -> Network” and enable the “Start VirtualBox with network support” option. Next you need to restart the Portable-VirtualBox and agree to install the driver. The process is organized so that when you finish working with a virtual machine, everything that has been installed in the system is deleted. Guest OS files are reasonable to place right on a flash drive with VirtualBox. I have this system alone, so it can be started immediately, without additional manipulations, by specifying its name in the parameters:
Portable-VirtualBox.exe "leopard"
Given that the virtual machine is always not in the off state, but in the “Save the state” mode, it starts very quickly. Therefore, it is always ready to work without excessive hemorrhoids. And anywhere.
There is a small group of programs that, for their work, most often for storing data, require the connection of external media to a computer. These can be accounting or any other special applications. Such a need may also arise when working with virtualization systems, to which you need to connect physical flash drives. But what if the flash drive was not at hand, but you still need to do the work in the program?
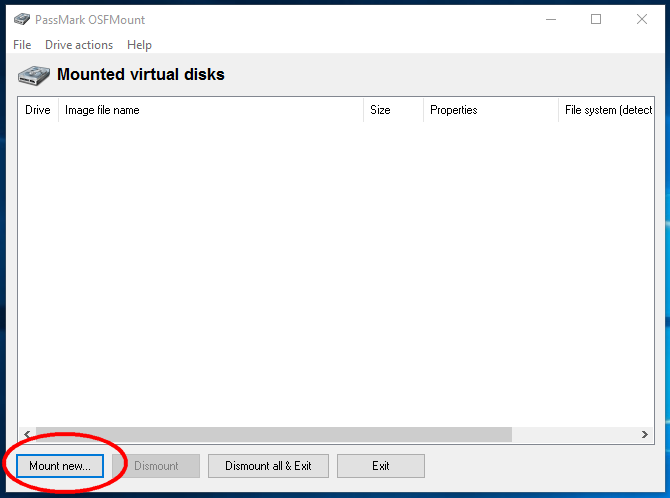
In such a situation will rescue a small free program called. It is intended mainly for mounting ready-made disk images, but can also be used to create RAM disks, that is, those that exist only in random access memory computer. In this case, the user can specify the type of virtual device, assign it a letter, and also set the necessary attributes.
In use, the program is very simple and convenient, except without the support of the Russian language. To add media, click the "Mount new" button and in the opened window set the mount options.
The option "Source" allows you to select the source of the image. It can be an image file or an image file loaded into a RAM (Image file in RAM) , as well as an empty RAM disk. If you need a virtual flash drive, specify the path to an ISO or other supported image format.
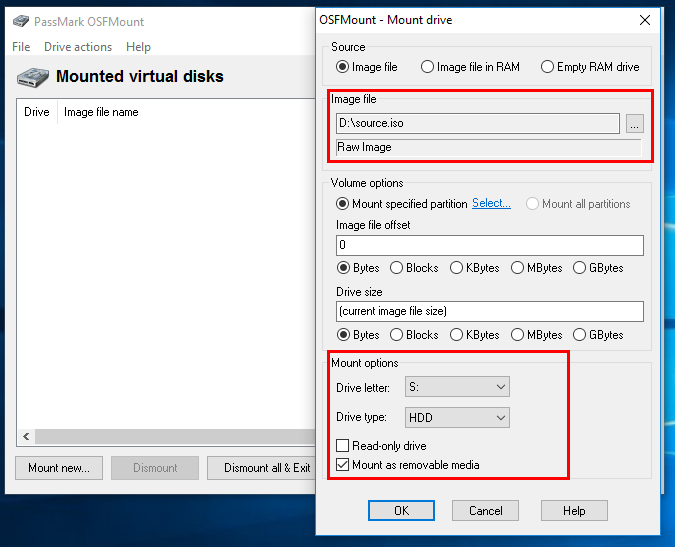
“Volume options” settings can be left by default, and they don’t matter for virtualizing a flash drive, they can only be needed when loading an image into memory and creating a disk from memory. Much more interesting are the settings "Mount options" .
The “Drive letter” option sets the drive letter.
“Drive type” is an image type.
There are four such types:
- Auto (the program chooses the type itself)
- Floppy (floppy disk)
- CD / DVD (optical disc)
- HDD (flash drive or removable hard disk).
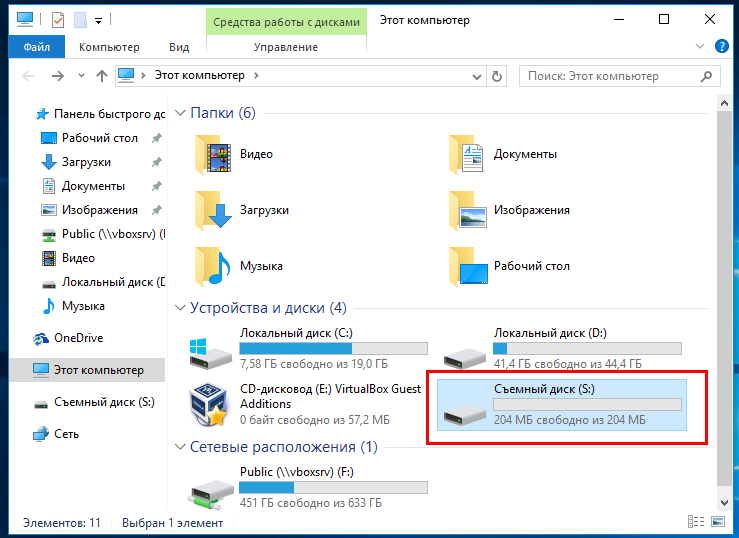
At the bottom of the window there will also be two checkboxes “Read-only drive” and “Mount as removable media” . If you are going to produce on virtual disk Record, the first tick needs to be removed. The second, on the contrary, must be installed so that the system does not recognize the catch and identified the mounted image as a USB flash drive. Having set such settings, click "OK" . That's it, now you can work with the image as with a regular removable media.
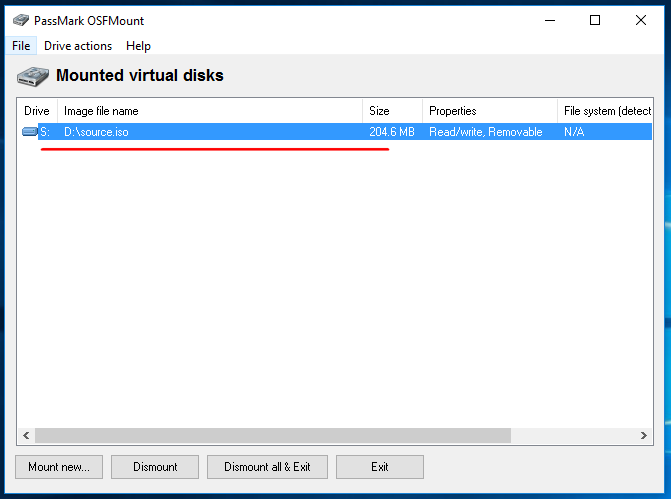
The options that you may need when working with a virtual flash drive are located in the “Drive actions” menu.
Available commands:
- Open
- Dismount
- Save to image file (save as new image in the required format)
- Extend size (expand)
- Format (format)
Additional options include Set media read-only ( disallow writing) and Set media writable (write permission).

What kind of image can be used to virtualize flash drives? In principle, any, even bootable, only in this case, OSFMount may ask to insert a disk into the device, and in order to make such a virtual USB flash drive available, you will have to format it first. In this case, the original image is likely to be damaged and can only be opened in OSFMount.
You may be interested in:
How to create a CD / DVD image using free program Ashampoo Burning Studio Free How to help Windows utilities ISO Downloader without much hassle to find and download any official distribution of Windows 7, 8.1 and 10 ESD Decrypte Utility - easy converting ESD to bootable ISO image Windows and Office Genuine ISO Verifier - Microsoft Product Authentication Utility
Hello, dear readers of my blog.
Here I will tell you how you can get a lot of data storage in the Internet.
I found a storage space of about 280 GB .
How to get? It is very simple. There are google, yandex, mail . You need to create an account in each of them. I have accounts in all three systems.
Let's start with Yandex. Need to create.
How to create an account, open. If necessary, install the disk on your computer. When you first start the drive, there will be space on 10 GB. Every year, the Yandex disk will give you about 1 Gigabyte or 2 Gigabytes. All this place is free.
When registering an account in Yandex, there is a need to specify a number mobile phone . For one phone number, you can register three accounts in Yandex. All three will be at the beginning of 10 GB of space.
You can register more accounts. Only for this you will need other phone numbers. The more accounts there are, the more confusion.
To store my data today the place is allocated as follows. In one 18GB, in another 12 GB and in the third account 11GB.
In the picture you can see the place on the disk of one of the accounts.

On Yandex, I received 41 GB of storage space for my data. It turns out as a virtual free flash drive.
It also requires a phone number. You can register a lot of accounts. But in the drop-down menu with accounts you can fit only five accounts.
My accounts are in mail three.
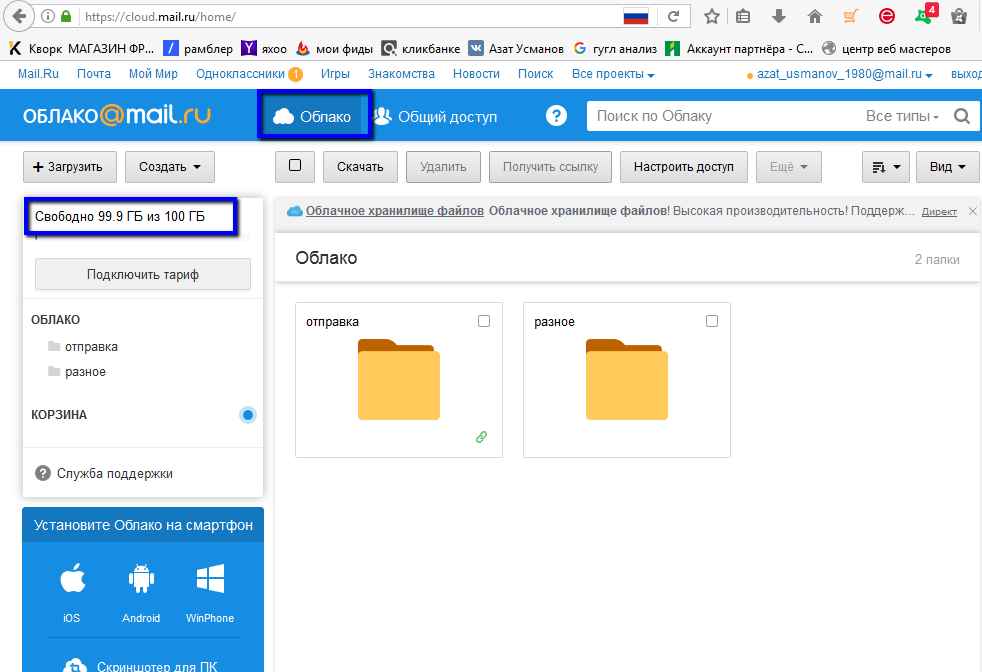
Two of them have 100 GB of space on one of 8 GB. In the mail the place for data storage is called “cloud” .
The picture shows how much space is in the cloud.
After registering an account, a space of 8 GB will be provided.
As you often use accounts in mail, you will add even more space.
100 + 8 + 100 = 208, add a place from Yandex here
Now I have found a place to store data 249GB.
But what if the flash drive was not at hand, but you still need to do the work in the program?What kind of image can be used to virtualize flash drives?
How to get?